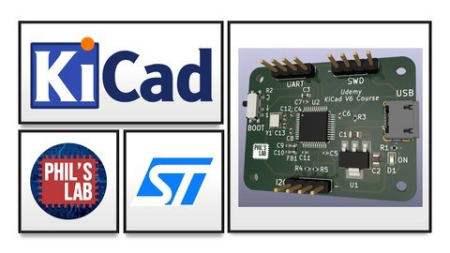
Learn KiCad V6 and STM32 Hardware Design
Genre: eLearning | MP4 | Video: h264, 1280x720 | Audio: AAC, 48.0 KHz
Language: English | Size: 1.16 GB | Duration: 1h 38m
Design an STM32-based prototype from scratch in KiCad V6 - all the way from concept to manufacturing.
What you'll learn
Master the basics of KiCad V6.
Know what external circuitry is required for STM32 microcontrollers, USB, and more.
Learn guidelines and best practices for PCB layout and routing.
Understand what information is required to get your prototype manufactured.
Requirements
Familiarity with basic electronics and microcontrollers.
KiCad V6 (free) installed.
Description
Learn how to use KiCad V6 and design your own printed circuit boards (PCBs) featuring STM32 microcontrollers. This course will give you a straightforward and complete way to moving from Arduino-based designs to your own, completely custom, STM32-based hardware. All the way from project creation, through to circuit design, PCB layout and routing, and final manufacturing file generation.
Lesson content
1) Schematic
How to use KiCad V6 (free ECAD software), creating a schematic in KiCad, populating the schematic with relevant circuitry: STM32 microcontroller, required surrounding circuitry, decoupling capacitors, pin-out planning using STM32CubeIDE, USB 2.0 FS, power supply using an LDO regulator. How to perform an electrical rules check and annotate the schematic, as well as assigning footprints.
2) PCB Layout
Setting up the KiCad V6 PCB editor, finding manufacturer capabilities and importing them into KiCad. Using the 3D viewer. Initial rough layout: placing the MCU, decoupling capacitors, and crystal circuitry. Adding USB, SWD, and GPIO connectors. Changing footprints and adding 3D models. Fine tuning placement and layout. Simple LDO power supply layout. Adding mounting holes and defining the board outline.
3) PCB Routing
Routing order and priorities. Best practices for decoupling capacitors, crystals, and sensitive traces. Signal routing, ground planes, vias, and power routing. Finishing touches with custom silkscreen and custom logo. Design rule check and final project checks.
4) Manufacturing
Producing the files in KiCad required by PCB manufacturers for assembly and production.
Who this course is for
Engineering students and hobbyists looking to move away from Arduino and start designing their own boards!
Screenshots
Code:
https://uploadgig.com/file/download/058ad0fc41213165/Learn_KiCad_V6_and_STM32_Hardware_Design_part2.rar
https://uploadgig.com/file/download/4c5381d9dA0B25a9/Learn_KiCad_V6_and_STM32_Hardware_Design_part1.rar

https://rapidgator.net/file/c7d93283dbdf1e22c482c8fd793f45c7/Learn_KiCad_V6_and_STM32_Hardware_Design_part1.rar.html
https://rapidgator.net/file/7ca812b49a19da9959e67576d13d5596/Learn_KiCad_V6_and_STM32_Hardware_Design_part2.rar.html

https://nitro.download/view/E458AA7E68A1346/Learn_KiCad_V6_and_STM32_Hardware_Design_part2.rar
https://nitro.download/view/BAF358C66B0A008/Learn_KiCad_V6_and_STM32_Hardware_Design_part1.rar