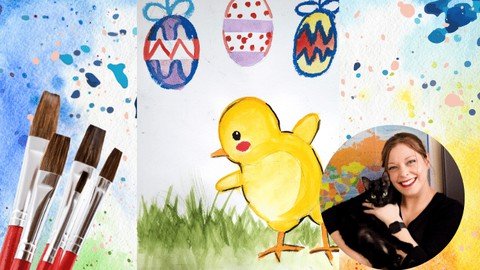
How to Paint an Adorable Chick for Easter Using Watercolor
MP4 | Video: h264, 1280x720 | Audio: AAC, 44.1 KHz
Language: English | Size: 761 MB | Duration: 33m
Let's celebrate the joy of Easter using different watercolor techniques
What you'll learn
How to draw using simple lines and basic shapes
How to add details using a series of simple techniques
How to use wax resist using oil pastel
How to use the lift technique for watercolor
How to use multiple watercolor techniques for one design
How to prevent pencil line from messing with your color
How to prevent tape from ripping your paper when doing the lift technique
How to add washes to your watercolor piece
How to use different brushes to create the texture of grass
How to use a wash to add filler shade to your chick
How to use dry on dry technique to create shadow
Requirements
No experience necessary, only a hunger to learn and the desire to create
You will need basic watercolor brushes, watercolor paint, watercolor paper, oil pastels, masking tape and a pencil with an eraser
Description
DESCRIPTION
Have you always wanted to learn how to draw and how to paint with watercolor but never know where to start? If that's the case then this class is just the class for you.
Welcome to Carly's Colorful Corner, where under the guidance of a certified art educator, you will learn how to paint an adorable chick for Easter, using simple watercolor techniques.
WHAT YOU WILL LEARN
In this beginner's step by step painting tutorial you will learn the following...
How to draw using simple lines and basic shapes
How to add details using a series of simple techniques
How to use wax resist using oil pastel
How to use the lift technique for watercolor
How to use multiple watercolor techniques for one design
How to prevent pencil line from messing with your color
How to prevent tape from ripping your paper when doing the lift technique
How to add washes to your watercolor piece
How to use different brushes to create the texture of grass
How to use a wash to add filler shade to your chick
How to use dry on dry technique to create shadow
THE TAKEAWAY
This is a perfect class for the beginning artist, because as a certified art educator, I will guide you each and every step along the way. In fact, all you will need is the basic watercolor paints, paint brushes and watercolor paper.
PROJECT DESCRIPTION
In this class, I will teach you how to draw by using basic shapes and simple lines. You will also learn how to use watercolor techniques to create shadows and texture. All students will be encouraged to make their own version of art and students of all levels are welcome.
Who this course is for
Beginning watercolor artists that are looking to expand their watercolor skills via step by step demonstration
Screenshots
Code:
https://rapidgator.net/file/81e9b51a42778da1baefb479dd19be4c/How_to_Paint_an_Adorable_Chick_for_Easter_Using_Watercolor.rar.html

https://uploadgig.com/file/download/F219a16e25dc728a/How_to_Paint_an_Adorable_Chick_for_Easter_Using_Watercolor.rar